
Building a Raspberry Pi 3/4/5 Baby Monitor
After looking at reviews for baby monitors, a few things were clear:
- Manufacturers aren't putting good cameras in these monitors
- Some have night vision, some don't and the quality usually sucks.
- If the monitor can be viewed remotely, it sometimes runs insecure RF wireless and can be snooped on or intercepted
- Good monitors aren't actually baby monitors, they're just nice cameras (Nest Cam) and cost $300+
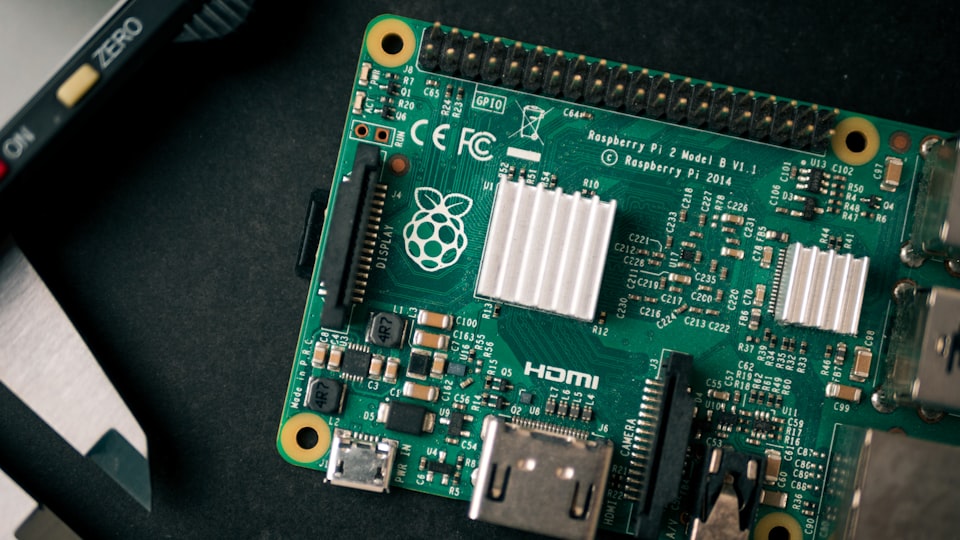
I knew there had to be a better, more affordable way to keep tabs on our little guy. A Raspberry Pi was a perfect solution--it has a camera module with 1080p resolution, it has USB ports for extra peripherals, it's portable, and it's (relatively) cheap – although in 2024, even a Raspberry Pi 5 kit costs $200. The good news is, this guide works down to a Raspberry Pi 3 or even a Pi Zero!
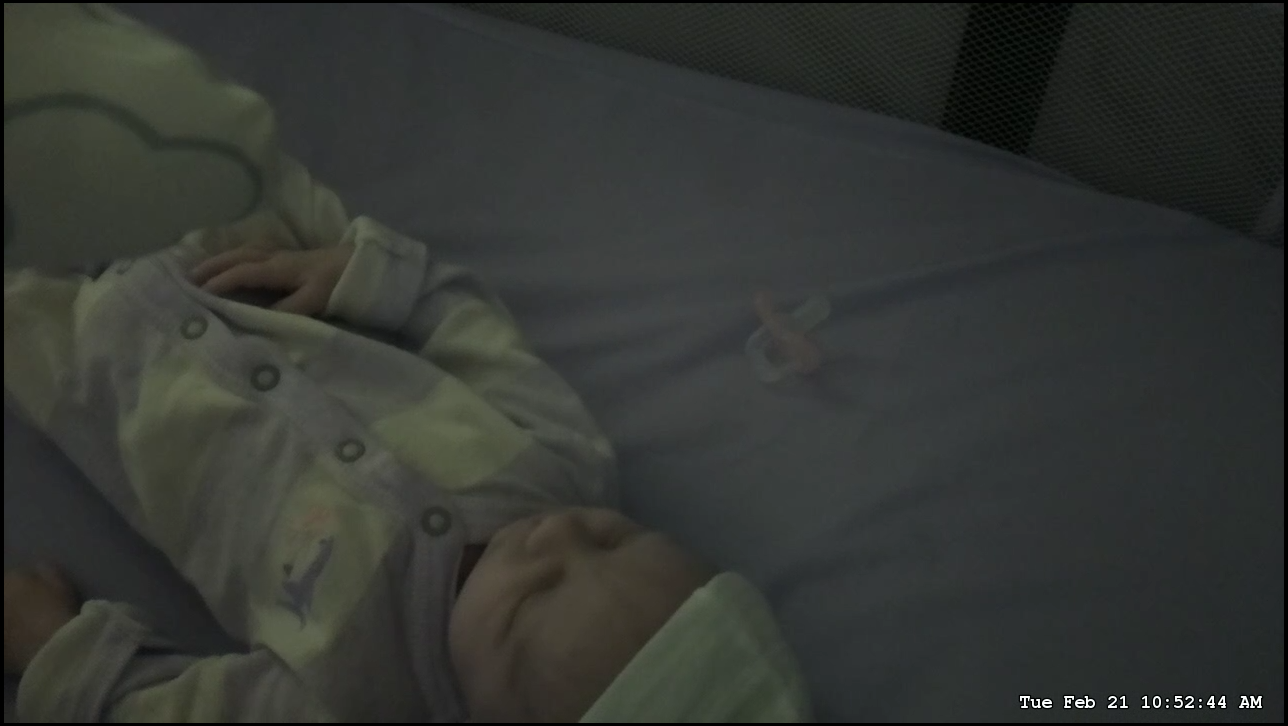
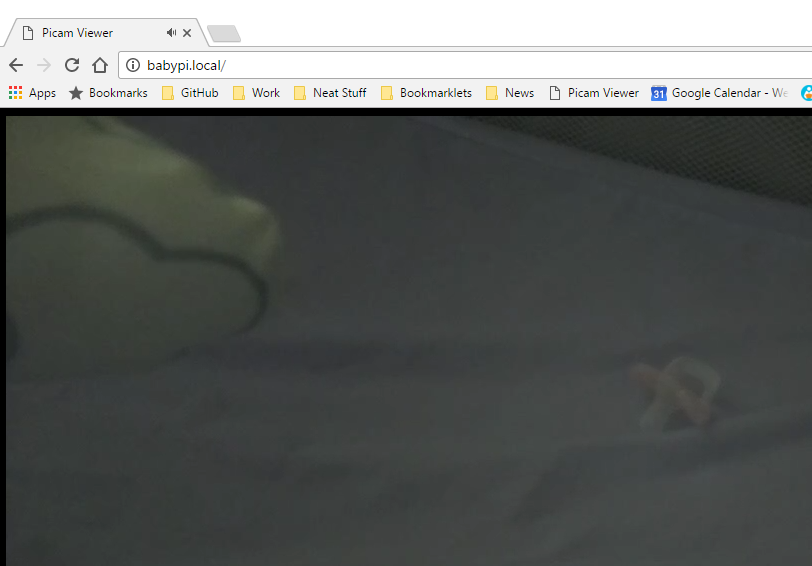
Check out the resulting image quality:
720p, low light
720p, high light
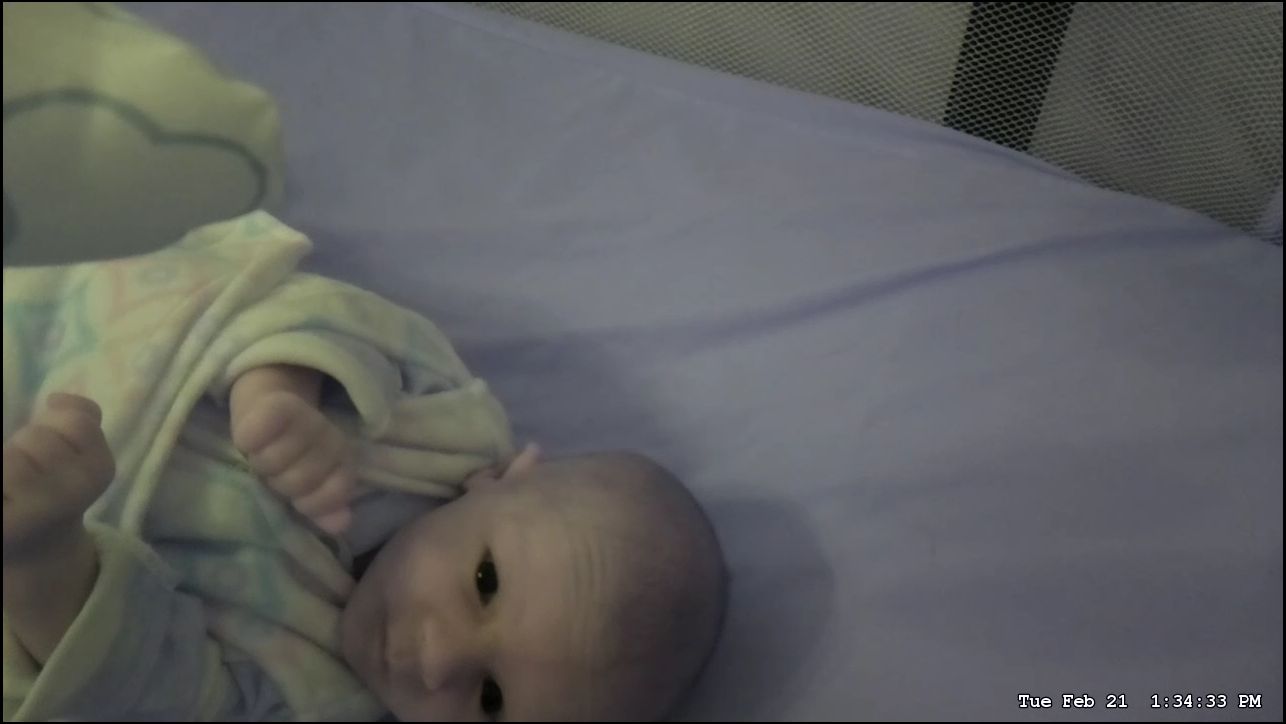
It's possible to reach 1080p with the Pi camera, it's up to you--I found 720p to be perfectly acceptable but 1080p caused the image to "zoom in" a bit too much. If I figure that out, I'll update the guide accordingly.
Who This Guide is For
This guide is for Raspberry Pi enthusiasts, makers, and DIYers who prefer a cheaper, privacy-centric camera under their control that can be more secure than an IoT camera. I've tried not to assume you know anything about Linux.
I am a developer by trade, but I will try to keep this guide as simple as possible. You are presumably ready to get your hands (a little) dirty if you have a Pi, but if you're like me, Linux is not your forte.
The other nice thing about using a Raspberry Pi is that it's easy to use! There are many guides and tutorials available for the device.
If you get stuck, the comments at the bottom provide a forum to help each other 🤝
What This Guide Covers
This guide will show you how to build your own DIY baby monitor using a Raspberry Pi 3/4/5.
The image and sound will be way better than any low- to mid-level monitors (and cheaper!). Additionally, this will give you a lot of flexibility to add other functionality such as a speaker, etc.
Since the Raspberry Pi is under your control, you can choose to expose it only within your home network or securely over the Internet--no weird Internet of Things or cloud "phone home" nonsense or possible vulnerabilities that allow people to view your baby.
It will be as secure as your home network, and if you choose to expose it publicly, you can use encryption and strong passwords to secure it (this guide does not cover that).
In This Guide
Jump to Comments SectionBefore You Begin
How To
- YouTube Video Walkthrough
- Installing the Pi Camera
- Configuring the Pi
- Configuring Raspbian
- Installing Picam
- Running Picam at Startup
- Installing nginx
- Mounting the Monitor
- Viewing on a Device
- (Optionally) Adding a Web Player
- (Optionally) Exposing over the Internet
Before You Begin
Jump to How ToUpdates
2024-11-22 – Raspberry Pi OS and Picam 2 compatibility
I recently wiped my Raspberry Pi 3 and am setting it up as a self-contained video recording and editing system for my son who is now 7 years old (yes, the one in the picture)!
I was able to follow my own guide again to get everything set up again, but several commands no longer worked and needed tweaks. I also added some more screenshots and clarified a few steps.
Using the Built-in rpicamvid
I show you how to use and configure Picam for video streaming, but a commenter said they found this guide on using built-in rpicamvid a bit easier! That is another option for you.
Price Increases on Canakit
I updated the Amazon links to the latest Canakit starter kits and was surprised that the price had doubled since 2019. You may want to shop around, but I think Canakit is worth it.
With cams as low as $50 now, this is definitely more of a hobby project than it was back then—you'll probably spend more money and way more time on it, so if all you're looking for is a good baby cam, maybe a $280 Nanit makes sense now.
The rest of the hardware has mostly fallen in price.
2020-08-25
2019-11-13
- Add video walkthrough pitch
- The Kinobo mini USB mic is discontinued so I replaced it with a well-reviewed Samson GO portable mic
- Add clarification for installing the right Binary distribution
- Add clarification for
picam-viewerinstallation
2019-06-08
- Updated Binary section to reflect instructions for Raspbian Buster
2018-01-11
- Fixed picam extraction command typo because the archive contains the original filename as the top-level folder
2017-10-25
- Thanks to Andrew for pointing out some differences between different Raspbian versions! I updated the Picam installation step.
- I updated my Picam arguments to be what I'm using now after some testing. The args I'm using seem pretty stable now.
2017-10-02
- I missed the fact that the
/run/shmdirectories are blown away on Pi restarts. The startup script now ensures they exist (should fix slow feeds). - I updated my picam-viewer web player to use Video.js now which should support more devices.
- The comments have reported that the Pi Zero works well for this!
The Hardware
Here's what you'll need (I've marked 👶 with what the guide is using):
- Raspberry Pi 5 Canakit - $170
- OR Raspberry Pi 4 Canakit - $150
- 👶 OR Raspberry Pi 3 Canakit - $100
- 👶 OR Raspberry Pi Zero W Canakit - $25
- 👶 Raspberry Pi Camera Module v2 - $13
- 👶 MicroSD card (8GB or higher) - $8
- NOTE: Links to each Canakit above include SD card!
- Samson GO USB omni/condenser microphone - $30
- Optional if you only want video and no audio captured
- 👶 USB reading Lamp (optional)
- You just want enough light for the camera
- 👶 Gooseneck phone mount (optional)
- Makes pointing at the right location easier
- HDMI cable (temporary)
- USB keyboard/mouse (temporary)
- Laptop to configure the Pi
You can snag all the hardware needed for ~$200 off Amazon. I went with a 32GB SD card but that's just me, you could configure this to store all videos/photos on a network device or cloud account.
The gooseneck LED light is optional--I want to be able to have the monitor have a night-light attached vs. having to have a separate ambient light at night.
For mounting the Pi, it's up to you. I need to mount it to the bassinet/crib and a clamp-based gooseneck mount is perfect for me (at least until the little guy starts moving around and grabbing things!). You may want to wall-mount it, use cardboard, etc. Use whatever works for you!
Nightvision Support
Originally I had planned to use the Pi NoIR camera module because it can see infrared light. However, since infrared light is still light (just not visible) I didn't really want to take a chance of accidentally "shining" it straight onto my son's face. There is no real evidence to suggest that infrared baby monitors are dangerous to infants--but concentrated IR is still not good to have directed at you. The fact is that nightvision baby monitors probably use a very low light level and it's probably not dangerous at all.
If you want to add nightvision to this monitor, simply replace the normal camera module above with the Pi NoIR Camera module. You will then need to find a suitable infrared light to use at night.
I have opted to use a simple flexible USB light that I can shine specifically where it makes sense and won't be in the baby's line of sight. It has an on/off switch which comes in handy for my wife at night to simply lean over and switch on too.
Programmable LED Light
While I opted for a simple on/off nightlight, you could potentially go crazy with a BlinkStick Nano USB light that is programmable, so you could have it automatically turn on in low-light conditions, program light shows, or what have you.
How To
Installing the Pi Camera
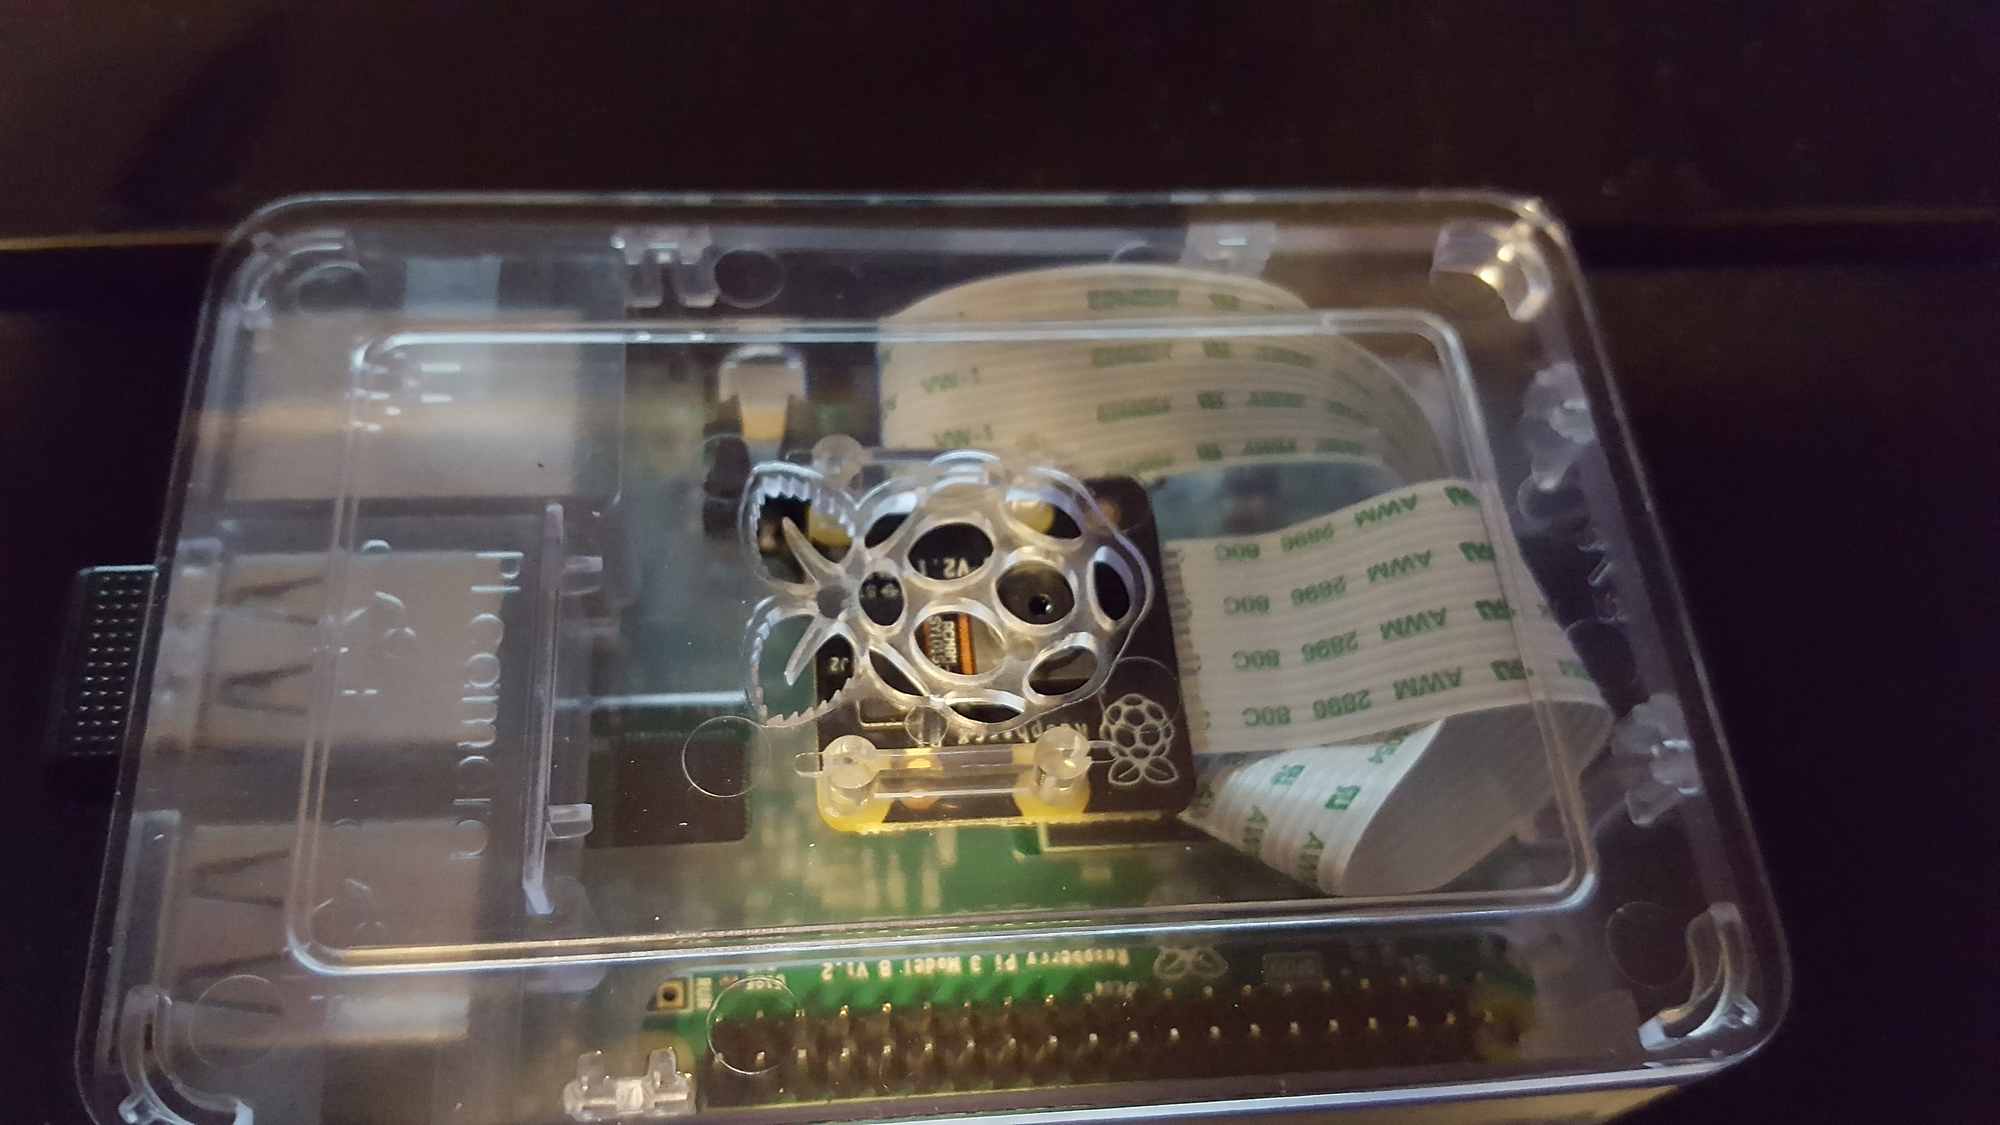
To install the camera on the Pi, firmly insert the end of the cable with the silver pins facing toward the HDMI port.
I picked the Canakit because the case allows you to attach the camera on the inside, allowing an integrated camera.
Configuring the Pi
First things first, we need to configure our Raspberry Pi. The software installation guide on the Raspberry Pi documentation site is perfect and easy to understand.
I used the Raspberry Pi OS imager:
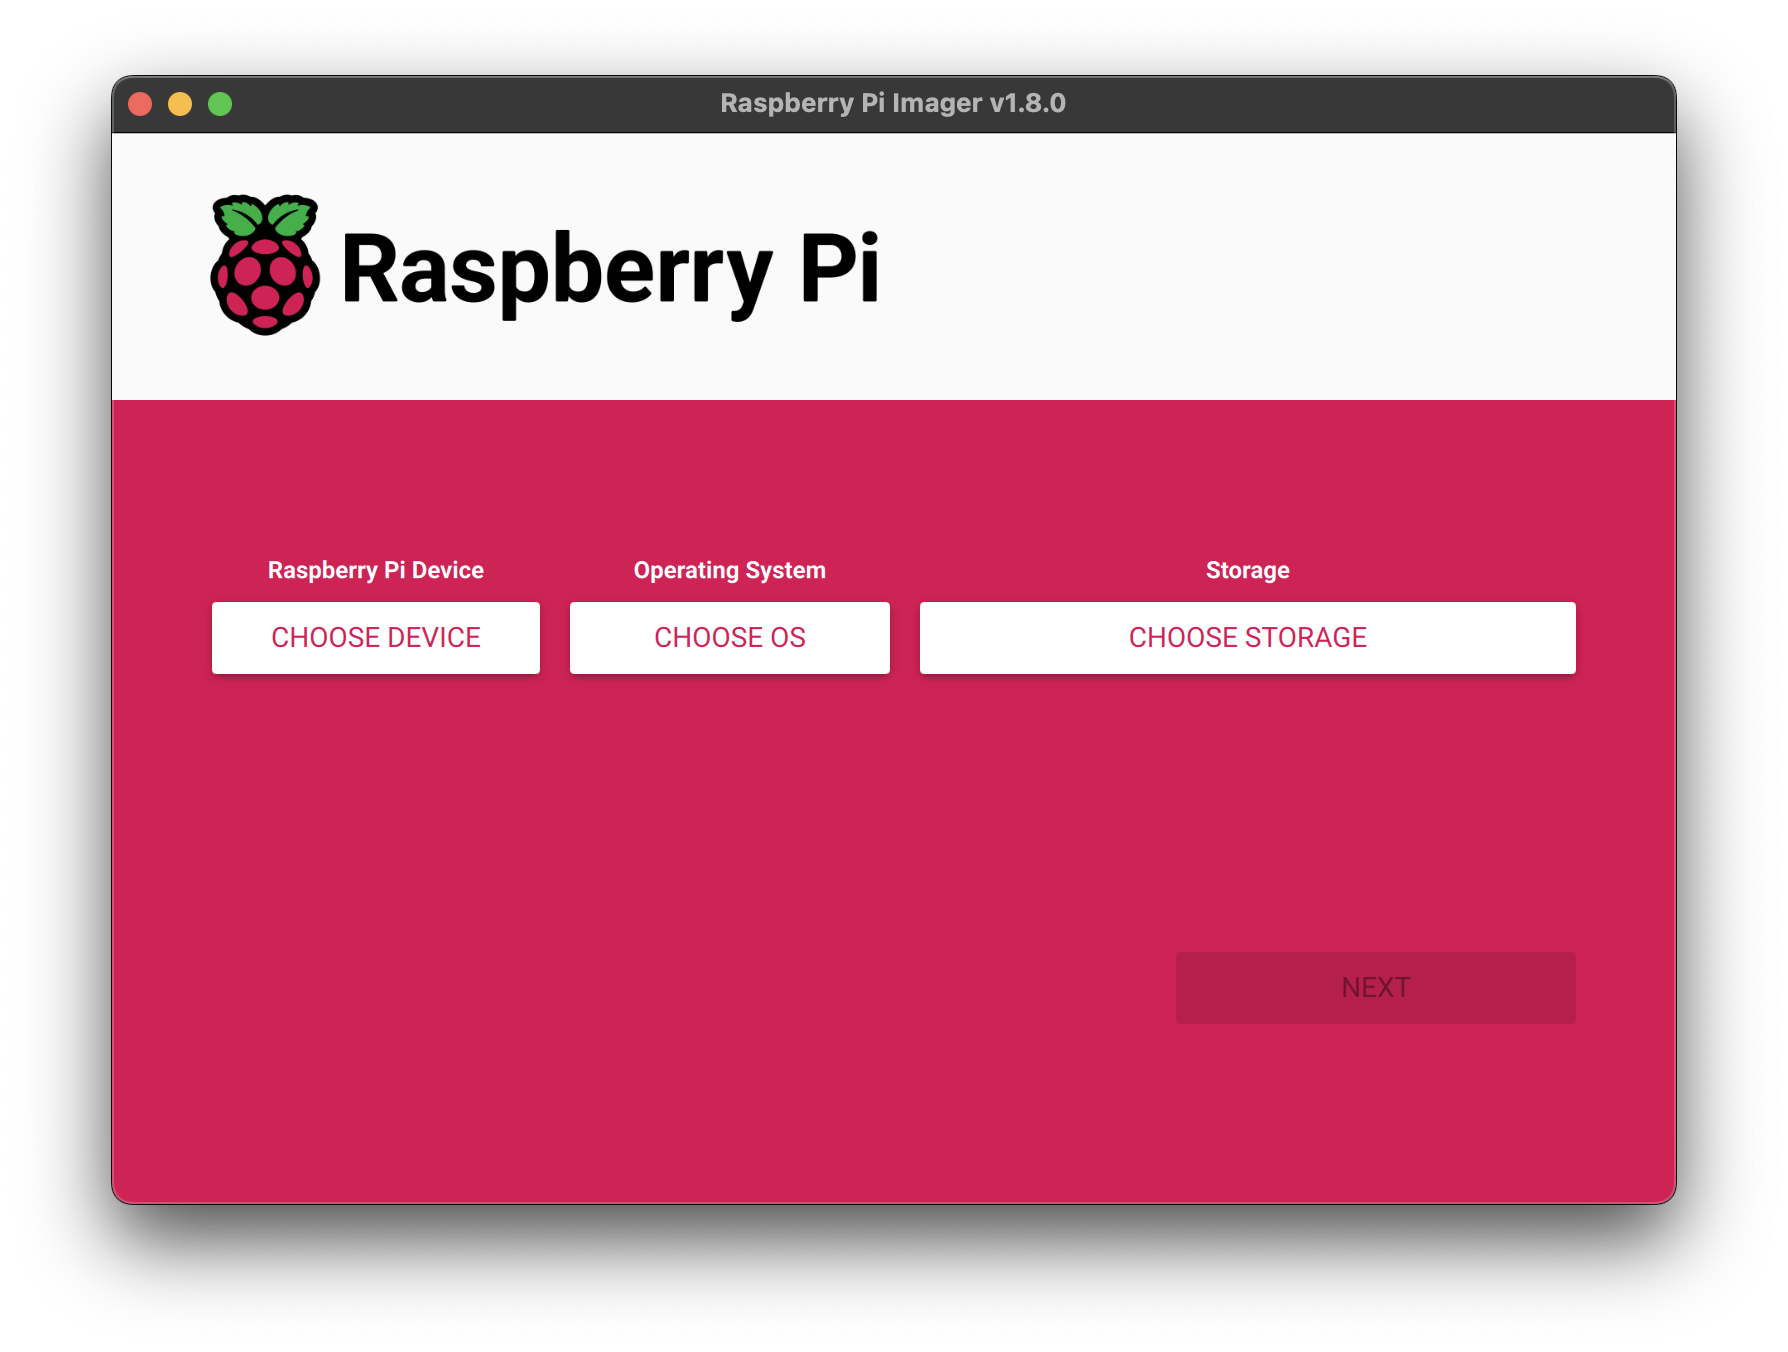
Raspberry Pi Imager Settings
You will see a screen like this:
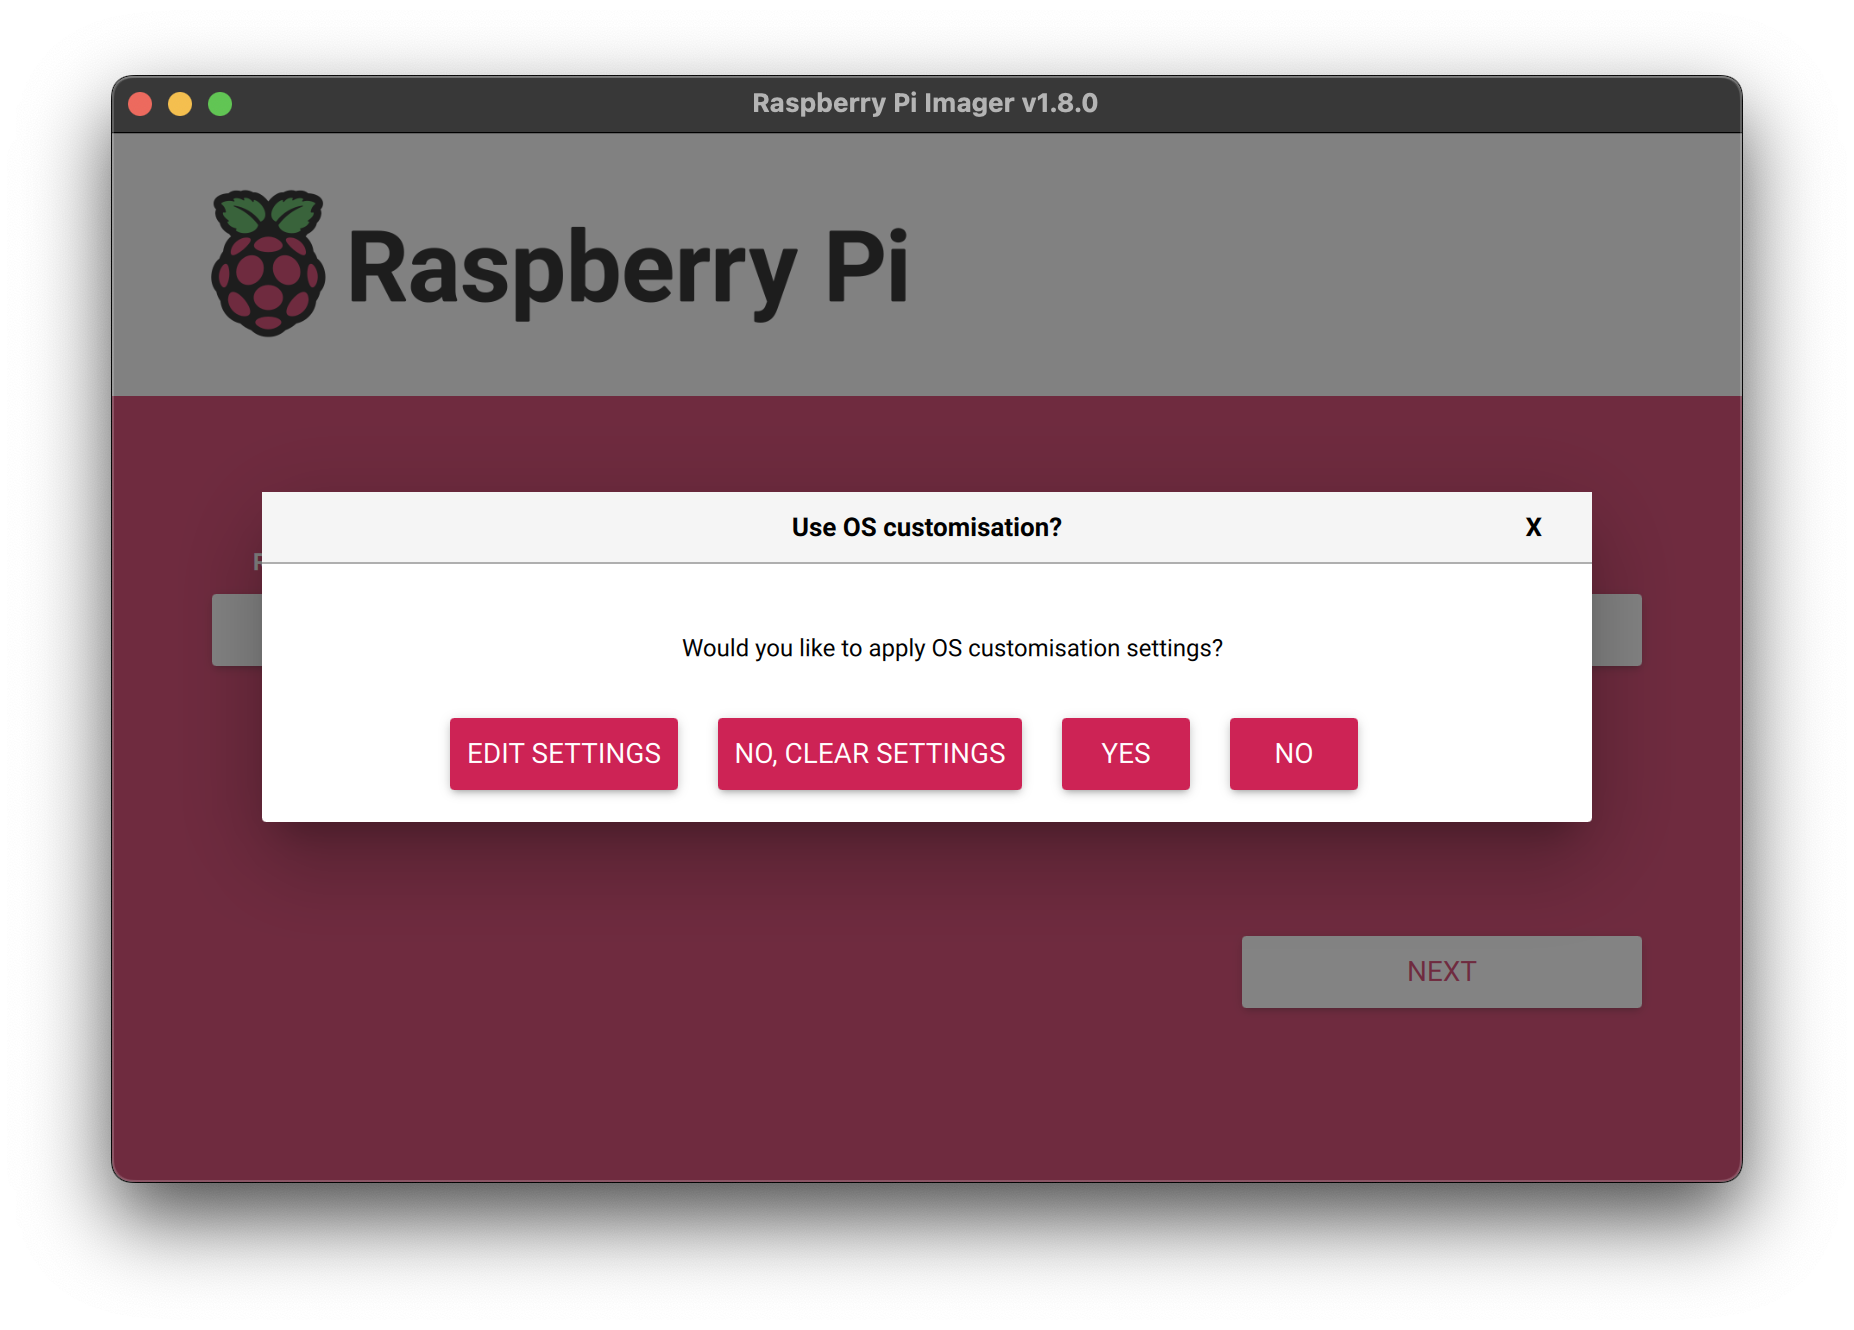
Click "Edit Settings" so you can configure some stuff upfront:
- Wi-Fi: You must configure this to connect to your Wi-Fi. You can do it once you boot into the OS, but you might as well do it now.
- Hostname: I used
babypibut the default israspberrypi - Username/password: Good to set for security.
- Timezone: When you boot up the OS, it should be set automatically, but you can also set it upfront.
Follow all the steps until your SD card has the Raspberry Pi OS.
Connect the Pi via HDMI to a monitor or TV. Connect a mouse/keyboard to the Pi for configuring. Connect an Ethernet cable unless you want to use Wi-Fi during the guide.
Boot up your Pi (i.e. plug it in) and it should boot into the OS.
Updating Raspberry Pi OS
I'm sorry I have to delve into the command-line but because Raspberry Pi is a Linux device, most of the power user features are only available through there. Hey, presumably you're reading this because you want a power-user baby monitor! We have to get our hands a little dirty.
Launch the Terminal app on the Pi (it's in the menu bar at the top).
Run the following command:
sudo apt-get update && sudo apt full-upgrade
When the prompt changes to a changelog, press Ctrl-C to close the wall of text, then Enter to continue.
This takes awhile! This updates Raspberry Pi OS to the latest updates including security patches. You want to run this every so often to keep the operating system up-to-date. You can also follow the official documentation here.
There are more technical guides on automatic updating so you don't need to login to keep it up-to-date.
Configure IPv6 (Optional)
The Raspberry Pi can be pinged and connected to via the hostname raspberrypi.local or whatever name you chose in the imager (plus .local at the end).
babypi.local hostname.I did not verify whether you still need to update IPv6 in the latest OS, so maybe this isn't applicable anymore. I am leaving it in for reference just in case.
However, if you use the IP address, it defaults to a long one (IPv6). Web browsers can have trouble connecting to the Pi with this enabled, so we need to disable IPv6 hostname resolution.
sudo nano /etc/avahi/avahi-daemon.conf
On the line use-ipv6=yes change yes to no. Press Ctrl-O to save (hit Enter), then Ctrl-X to exit.
Now reboot! sudo reboot
You should be able to ping your Pi from another machine:
ping babypi.local
ping -4 babypi.local
The second command forces the ping to return the IPv4 address. On Windows you may need the Bonjour service installed if you don't have iTunes installed.
Some devices (my Android phone for example) still won't be able to use babypi.local so you'll still need the IP address of your Pi, which you can see with ip addr show.
Note: I had some issues on Windows trying to access http://babypi.local in my browser. When I pinged my Pi, I got a private address space back (198.105.x.x) instead of the local IP. I changed my router's DNS to Google's public DNS servers and for some reason that worked. I think CenturyLink (my ISP) was somehow interfering since it would always redirect to some proprietary search results page. However, with the knowledge I have of networking and DNS, this still makes no sense to me!
Installing Picam
Because we want to stream both audio and video from the camera and USB microphone, we need to use a software project called Picam.
Make sure to run all commands from the Pi user directory, i.e. your prompt should look like:
pi@raspberrypi:~ $
The ~ denotes your user's home directory.
Run the following command in the terminal to install some Picam dependencies:
sudo apt-get install libharfbuzz0b libfontconfig libepoxy0
Then this entire thing (if you are using SSH, just copy/paste otherwise have fun!):
cat > make_dirs.sh <<'EOF'
#!/bin/bash
DEST_DIR=~/picam
SHM_DIR=/run/shm

mkdir -p $SHM_DIR/rec
mkdir -p $SHM_DIR/hooks
mkdir -p $SHM_DIR/state
mkdir -p $DEST_DIR/archive

ln -sfn $DEST_DIR/archive $SHM_DIR/rec/archive
ln -sfn $SHM_DIR/rec $DEST_DIR/rec
ln -sfn $SHM_DIR/hooks $DEST_DIR/hooks
ln -sfn $SHM_DIR/state $DEST_DIR/state
EOF
Then the following, to execute the script we just made and create the required directories:
chmod +x make_dirs.sh
./make_dirs.sh
Downloading the right version
Raspberry Pi OS and Picam Binary Release (1.4.7+, 2.x)
Use the latest version release (2.0.12 as of Dec 2024):
wget https://github.com/iizukanao/picam/releases/download/v2.0.12/picam-2.0.12-`uname -m`.tar.gz -O picam-2.0.12.tar.gz
tar zxvf picam-2.0.12.tar.gz
cp picam-2.0.12/picam ~/picam/
Replace 2.0.12 with the latest version string if applicable.
This script:
- Downloads the file to the current directory as
picam-{version}.tar.gz - Extracts the archive to the
picam-{version}folder - Copies the extracted sub-folder
picam-{version}/picamto a top-level~/picamfolder in your HOME directory
Jessie or Stretch (Picam 1.4.6)
This is only applicable to Picam v1.4.6
- For Jessie: https://github.com/iizukanao/picam/releases/download/v1.4.6/picam-1.4.6-binary-jessie.tar.xz
- For Stretch: https://github.com/iizukanao/picam/releases/download/v1.4.6/picam-1.4.6-binary-stretch.tar.xz
Now we install Picam directly using the link above:
wget <URL ABOVE> -O picam.tar.gz
tar xvf picam.tar.gz
cp picam/picam ~/picam/
Configuring Picam
We now have Picam installed! It's time to get a stream working.
To configure Picam to use our microphone, we need to know what its "device ID" is. Run the following to list any USB recording devices:
arecord -l
The name will be Card # and Device #, so for example, here is mine:
**** List of CAPTURE Hardware Devices ****
card 1: Device [USB Audio Device], device 0: USB Audio [USB Audio]
  Subdevices: 1/1
  Subdevice #0: subdevice #0
You see "card 1" and "device 0" so my microphone ID will be hw:1,0.
Now, let's make a script we can run to start Picam. Replace "hw:1,0" with your device ID above if it's different.
First, create a new run_picam.sh bash script file and mark it as executable:
touch run_picam.sh
chmod +x run_picam.sh
Now, use the nano editor to edit the script:
nano run_picam.shThe nano editor is very straightforward to use. Ctrl-O to save, Ctrl-X to exit.
Copy and paste or write this script:
#!/bin/sh

# !!! Change to your user home directory!
PI_USER=/home/<your-username>

sudo $PI_USER/make_dirs.sh

sudo $PI_USER/picam/picam \
  -o /run/shm/hls \
  --time --alsadev hw:1,0 \
  > /var/log/picam.log 2>&1
<your-username> to your Raspberry Pi OS username.My path for example is
/home/kamranBecause Picam writes to some system directories, it is running using sudo although I am positive with the correct permissions, you wouldn't need to.
The script starts Picam with an HLS stream output to the RAM drive (fast) and uses our microphone as the recording device. It also writes out the current timestamp in the bottom corner of the stream. There are a ton of other options, too, including subtitles, etc. The default video resolution is 720p, which is fine enough for a baby cam ton of other options.
The script also writes the Picam output to /var/log/picam.log for debugging purposes.
Test the script by typing sudo run_picam.sh. You will not see any output because it is outputting to the log file.
Open a new Terminal tab (File -> New Tab) and type in the following:
cat /var/log/picam.logYou should see:
kamran@babypi:~ $ cat /var/log/picam.log
created state dir: ./state
created hooks dir: ./hooks
created directory: ./rec
created directory: ./rec/tmp
created directory: ./rec/archive
created HLS output directory: /run/shm/hls
configuring devices
capturing started
You can quit the run_picam.sh script by hitting Ctrl-C to exit.
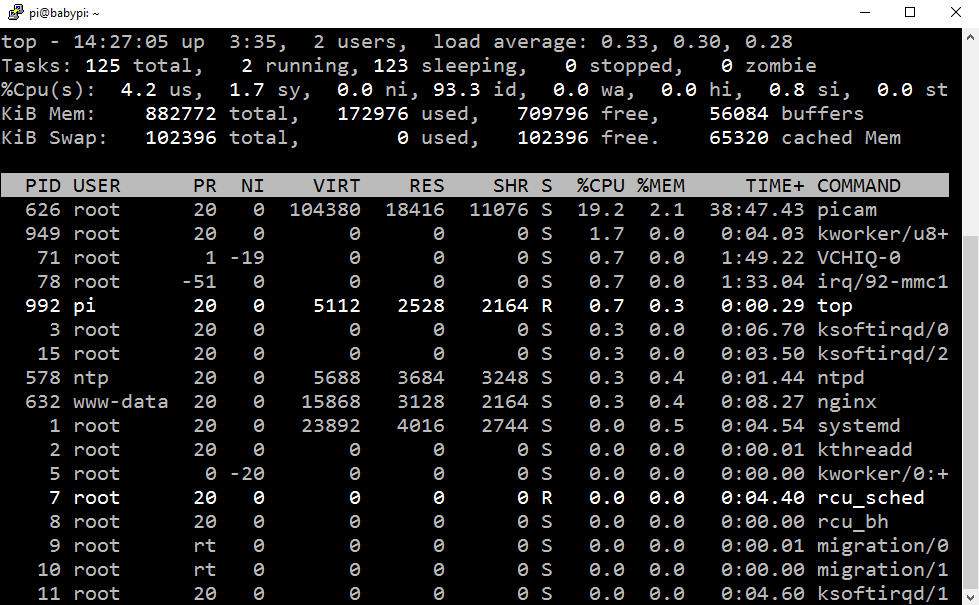
top command to verify picam is running.Running Picam at startup
There's a great post on how to run a script at startup. We want Picam to run right away when the Pi boots up, so let's do that!
Create the script:
sudo nano /etc/init.d/picam
Then copy/paste the following:
#! /bin/sh
# /etc/init.d/picam

### BEGIN INIT INFO
# Provides:          picam
# Required-Start:    $remote_fs $syslog $network
# Required-Stop:     $remote_fs $syslog $network
# Default-Start:     2 3 4 5
# Default-Stop:      0 1 6
# Short-Description: Simple script to start Picam at boot
# Description:       A simple script to start Picam at boot
### END INIT INFO

# If you want a command to always run, put it here

# Carry out specific functions when asked to by the system
case "$1" in
  start)
    echo "Starting Picam"
    # run application you want to start
    sudo /home/pi/run_picam.sh
    ;;
  stop)
    echo "Stopping Picam"
    # kill application you want to stop
    killall picam
    ;;
  *)
    echo "Usage: /etc/init.d/picam {start|stop}"
    exit 1
    ;;
esac

exit 0
This is an initialization script that will execute our run_picam.sh script we just made.
Mark it as executable:
sudo chmod +x /etc/init.d/picam
Now, let's test it.
sudo /etc/init.d/picam start
You should see the Picam output. Picam is now running in the background! You can stop it manually like this:
sudo /etc/init.d/picam stop
Now let's register it on startup:
sudo update-rc.d picam defaults
All set. We can test it out by rebooting the Pi and verifying the Picam process is running.
sudo reboot
Once the Pi is booted, type top to see running processes. You should see Picam at the top.
Installing nginx
We've set up Picam to output a stream to a file but we need to expose that stream so we can connect to it from our devices or web browsers. "nginx" is a web server that can do that for us.
Let's install nginx:
sudo apt-get install nginx
Now let's expose the RAM stream as a directory:
sudo nano /etc/nginx/sites-available/default
In the editor, scroll down to right before location / { and add a new block above it:
location /hls/ {
    root /run/shm;
}
This adds a new /hls URL that points to the /run/shm/hls directory Picam is outputting the stream to.
Restart nginx to allow the changes to take effect:
sudo /etc/init.d/nginx restart
This starts the web server. Now you can browse (on the Pi or other device) to the root of the site and view the nginx welcome page.
For example, type in http://babypi.local/ to see the default nginx homepage:
If you type in http://babypi.local/hls/index.m3u8 the browser should download or display a video file. We'll get to how to view the video in a few minutes!
Mounting the monitor
Now that we've configured the baby Pi, we need to put it near the baby! As I mentioned at the start, I am just using a simple LED light to help when its dark. With a gooseneck mount, we can also position the monitor in whatever way we need that provides the best view of the crib. What's nice is that you can fit everything you need onto a single Pi, so it can travel with you.
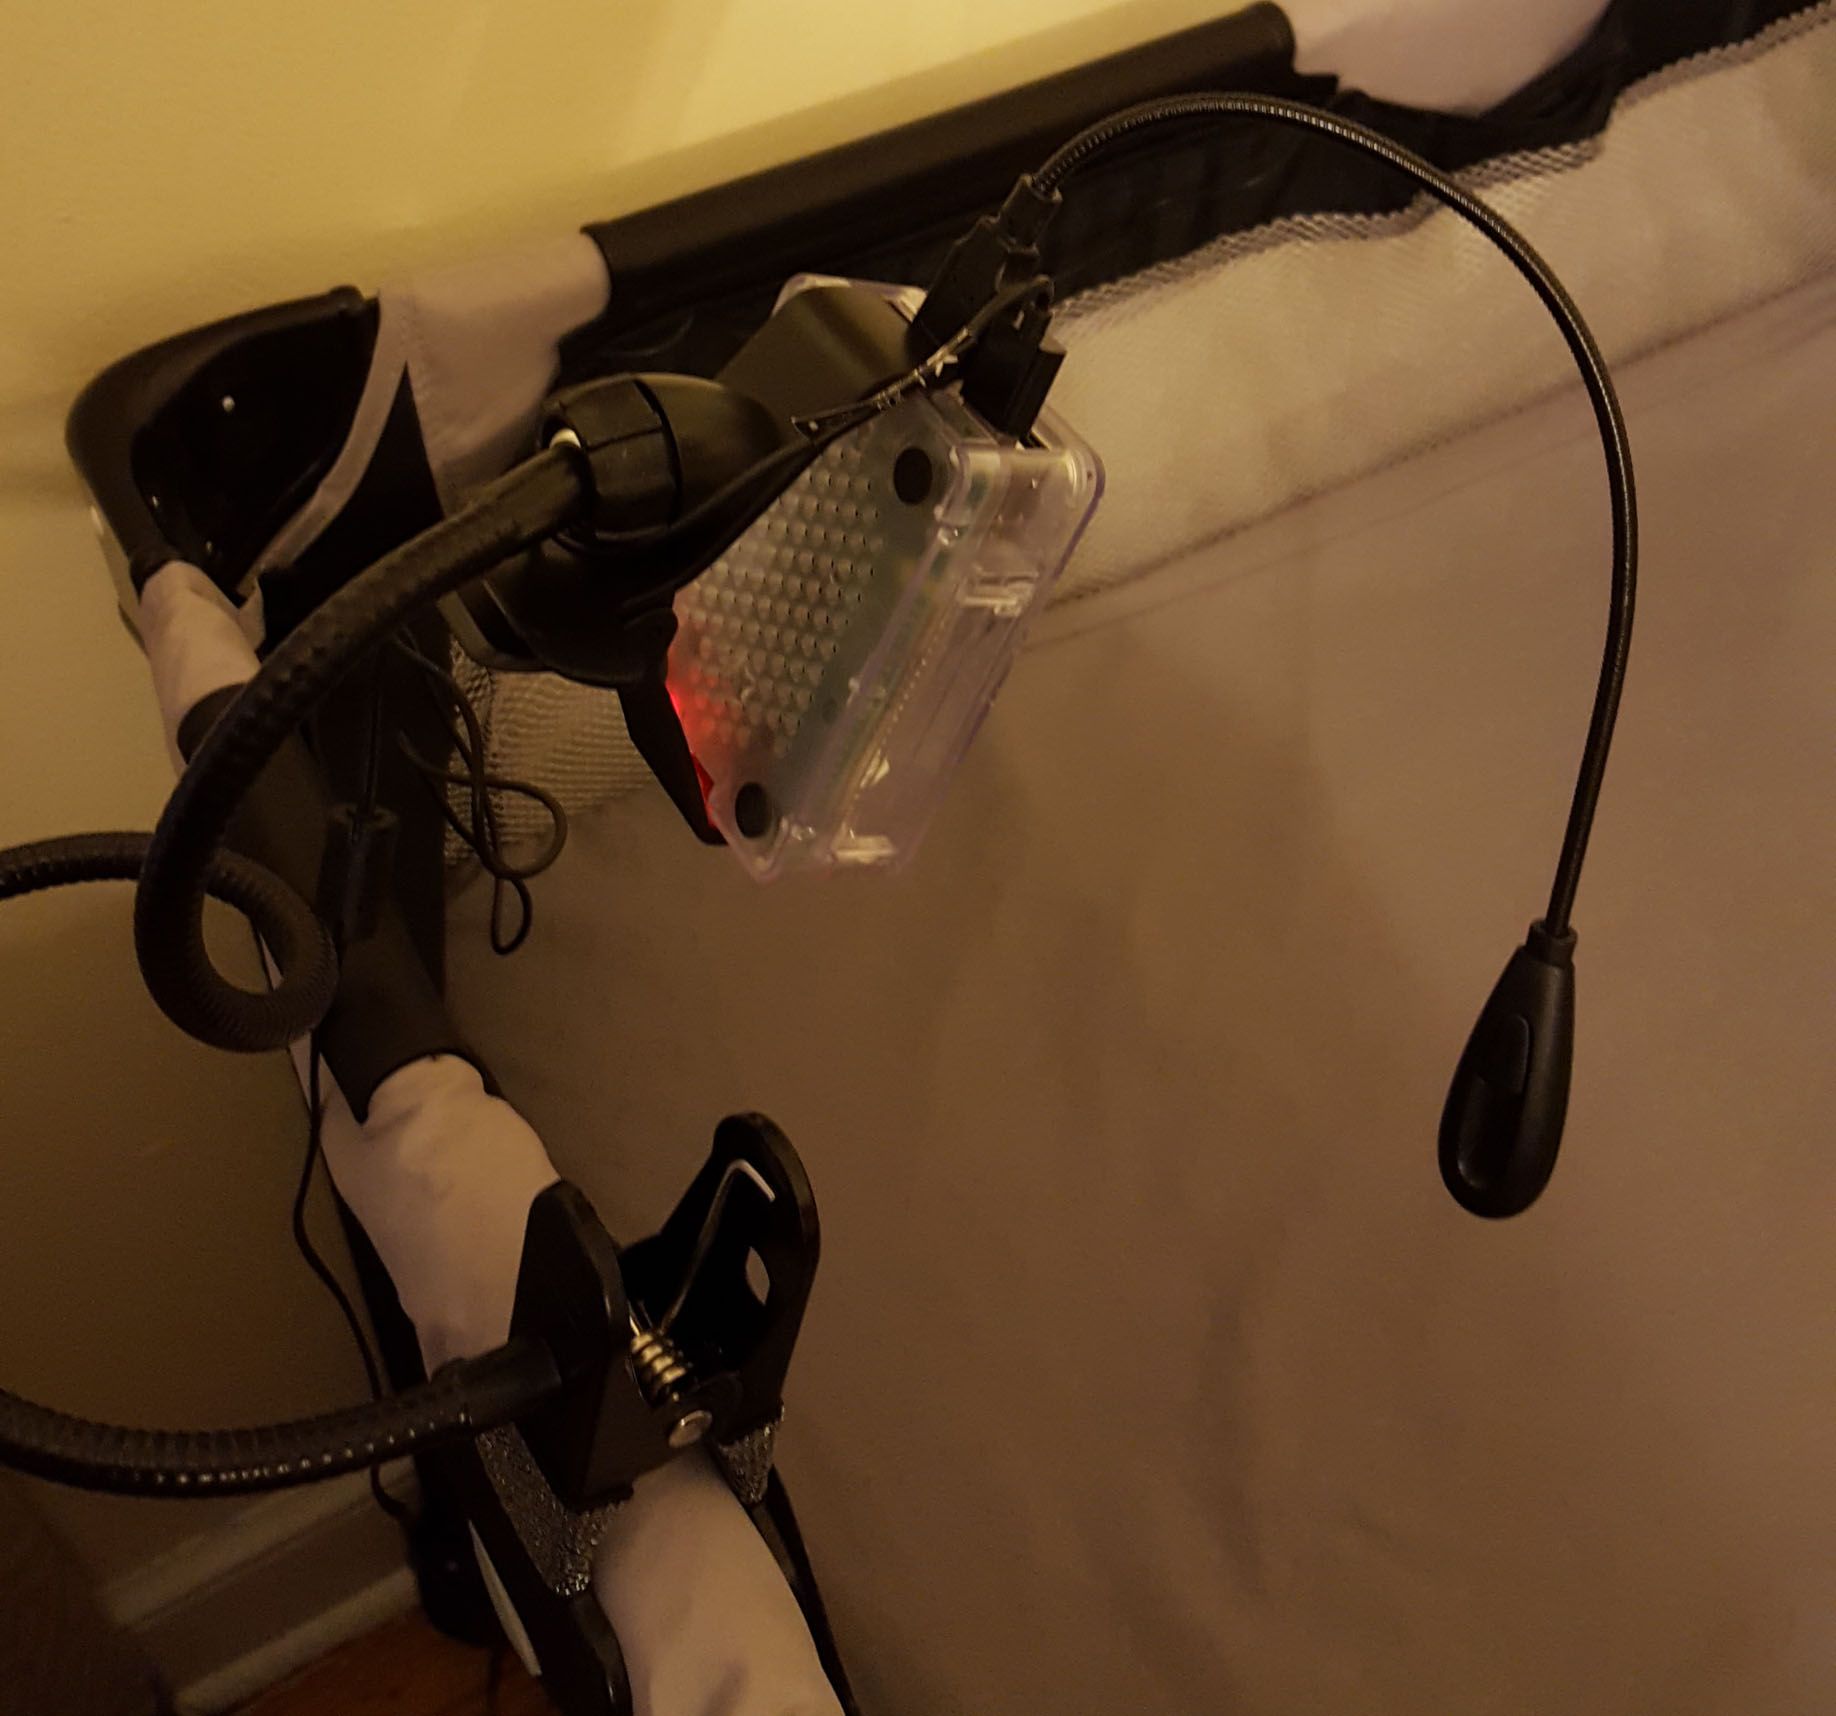
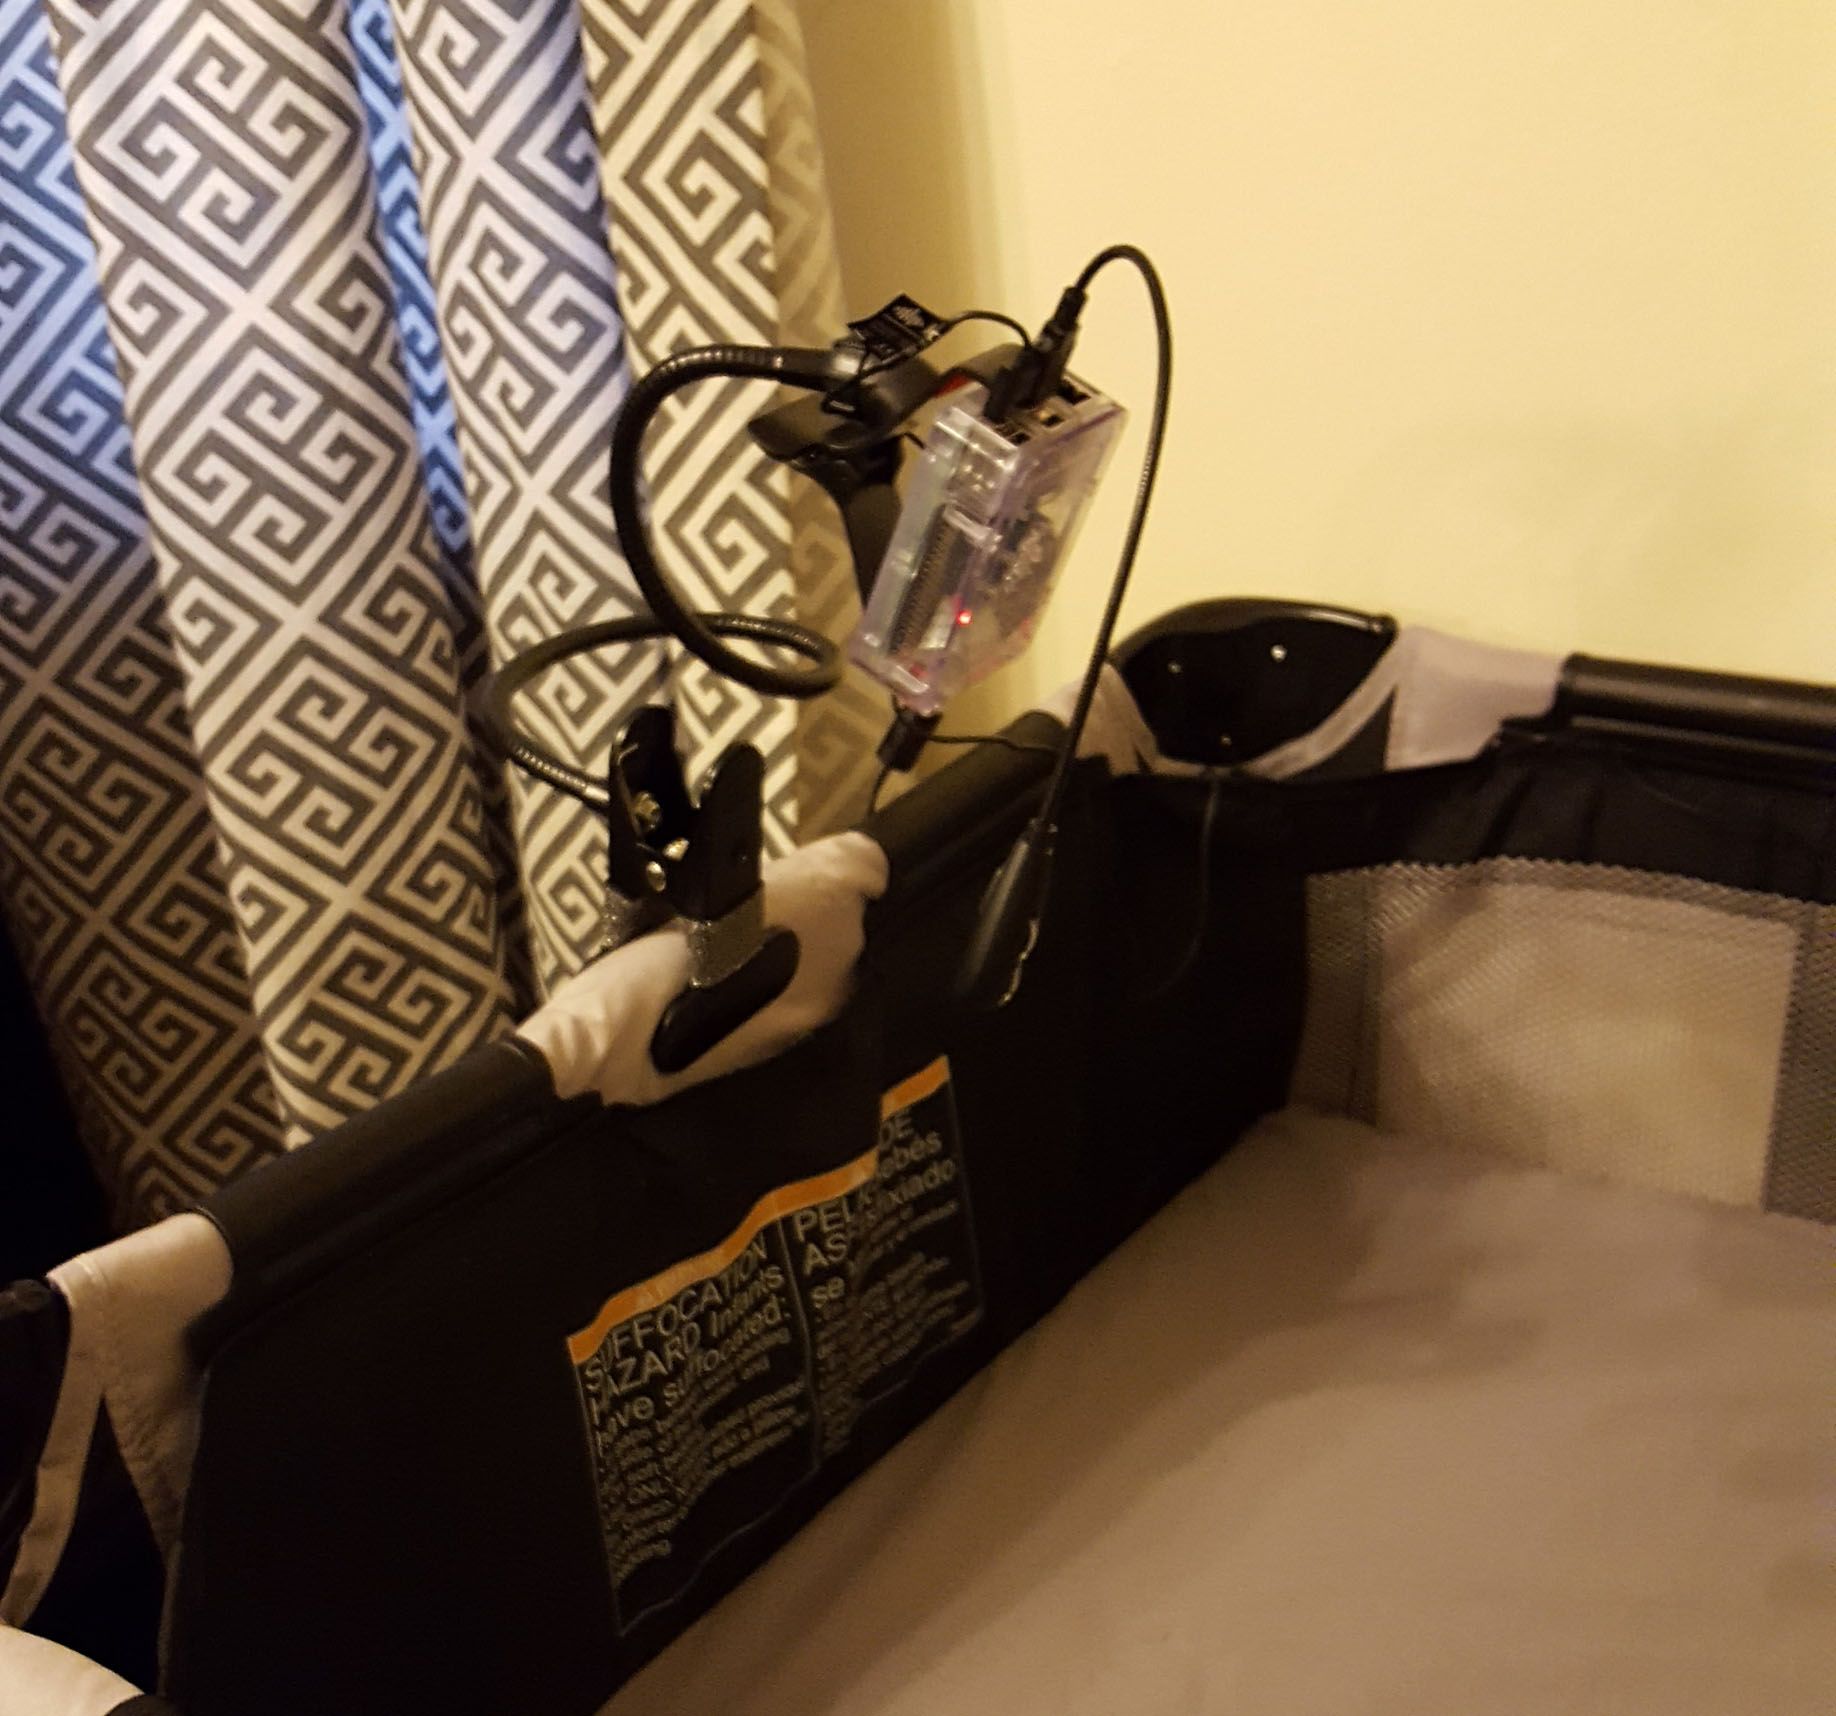
Different angles of the mount
It looks a bit like an angler fish but it does the job!
Viewing on a device
We're officially all set up! That's all that is needed to use our baby monitor.
In the first part where you configured the Pi, you choose a hostname (or didn't). You can now access the stream URL at http://babypi.local/hls/index.m3u8. You can open that up in any compatible software to view the livestream.
VLC Player
On a PC, Mac, Android, or iOS, I recommend VLC Media Player.
- Install VLC
- Open VLC
- Go to File
- Open Network Stream
- Paste in the URL

The steps are similar for Android and iOS, just choose "Stream" and type in the same URL.
You should now see a live stream with video and audio!
(Optionally) Adding a web player
VLC is a nice player but sometimes it might be nice to just hit the Pi directly in a web browser (open a new tab on your computer, etc.).
We can optionally add a stream player to our web server. Follow the steps below:
cd /var/www/html
sudo git clone https://github.com/kamranayub/picam-viewer.git .
IMPORTANT: Ensure you keep the period (.) at the end of that command! It will download the contents of the Git repository into the current one.This will bring down a bare metal web player I put together. Feel free to edit it as you see fit. If you changed the URL to where the HLS stream is at on the server, you will need to edit config.json.
Now, open a browser and visit your Raspberry Pi (e.g. http://babypi.local/):
Note: The viewer is very basic right now, I plan to add some functionality to change the exposure, resolution, white balance, and mute settings for Picam as well. Some Raspberry Pi configuration might be nice too such as rebooting. You can contribute back at https://github.com/kamranayub/picam-viewer
(Optionally) Exposing over the Internet
I have chosen not to expose my Pi to the internet, instead it sits securely on my network behind my router and is not accessible via the Internet. If you choose to expose it remotely, you will need to do the following to ensure it's secure:
- Set up Port Forwarding on your router to forward some random port to port 80 on the Pi
- Enable HLS encryption which is in the Picam documentation.
- Configure nginx to use HTTPS (and force it) and an SSL certificate (preferably a signed one) for the website
- Configure nginx to prompt for a username/password (Basic Authentication) which is secure as long as its over SSL
- Probably disable password authentication in SSH and switch to SSH keys
These steps are outside the scope of this guide but there are many tutorials online for Nginx, port forwarding, and SSL that you can follow to achieve this. If someone wants to write it up, I will happily add it to this guide! Just remember as soon as you allow your Pi to be exposed, you need to make sure it's the server is secure and encrypted.