
How to Install a SSL certificate into AppHarbor
I am mostly writing this for my own benefit because every year I tend to forget what I did before. It's not hard, there's just a handful of steps. I use RapidSSL as my provider, so my steps are based on what RapidSSL gives me.
This guide assumes you are using SNI SSL (I am not sure if the steps differ for IP/hostname-based SSL on AppHarbor).
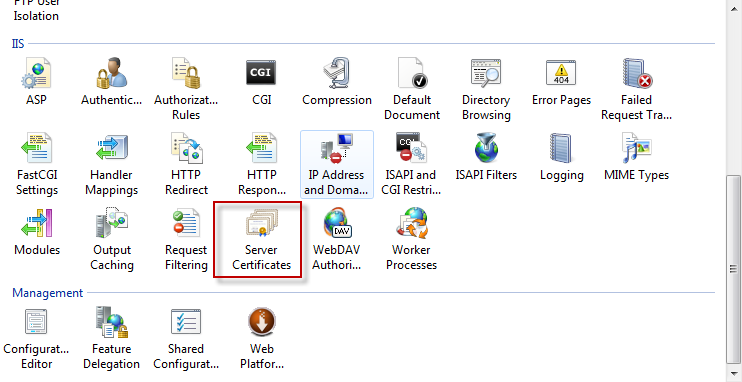
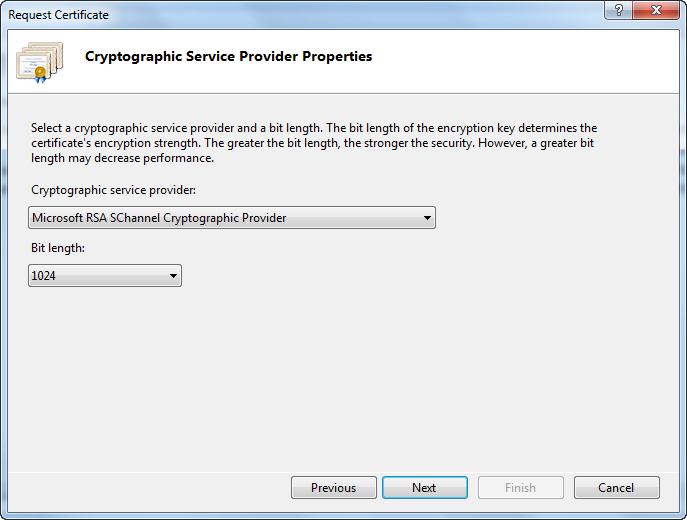
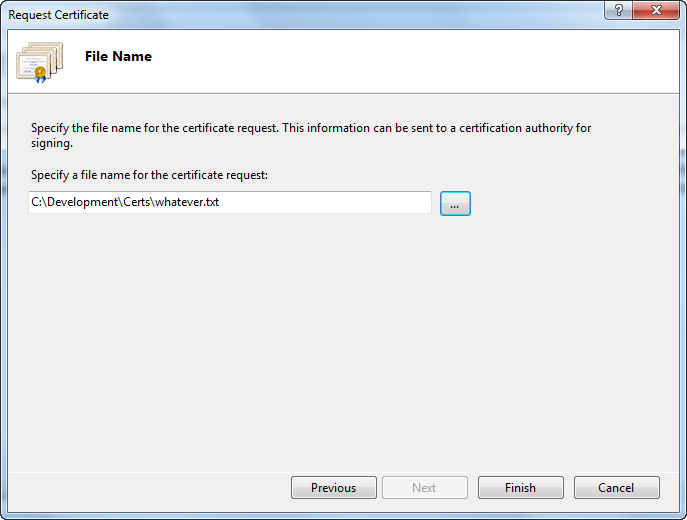
Create a new Certificate Signing Request on your local IIS box (the machine doesn't matter, just use your dev machine)
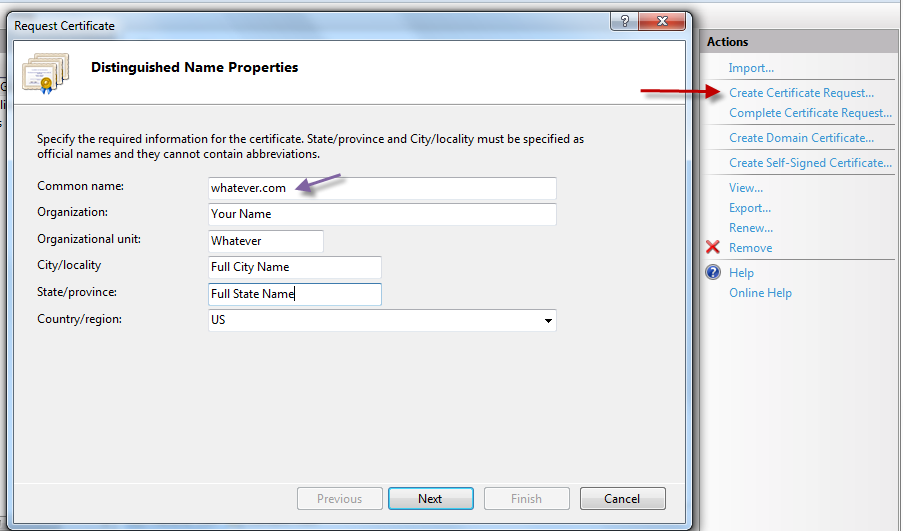
Be sure to remember the Common Name you entered as that is important. I use my domain name because it's easy to remember.
On your SSL provider (e.g. RapidSSL), they will ask you to paste in your CSR. Open the TXT file IIS made and copy everything and paste it in when your provider asks for it.
Wait until your provider completes your order. RapidSSL will send you an email with some certificates in the email, but all you need right now is the Intermediary Certificate.
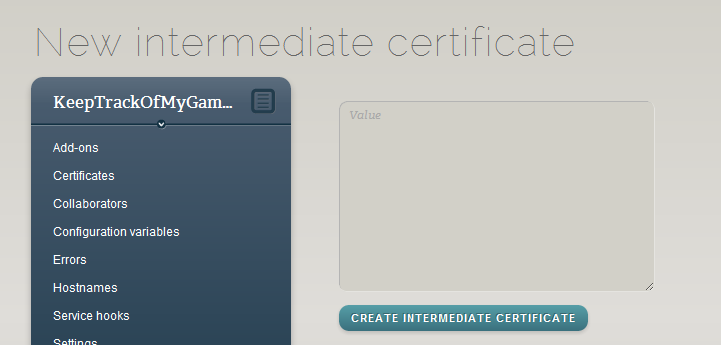
Copy the Intermediary Certificate from your provider and install it into AppHarbor:
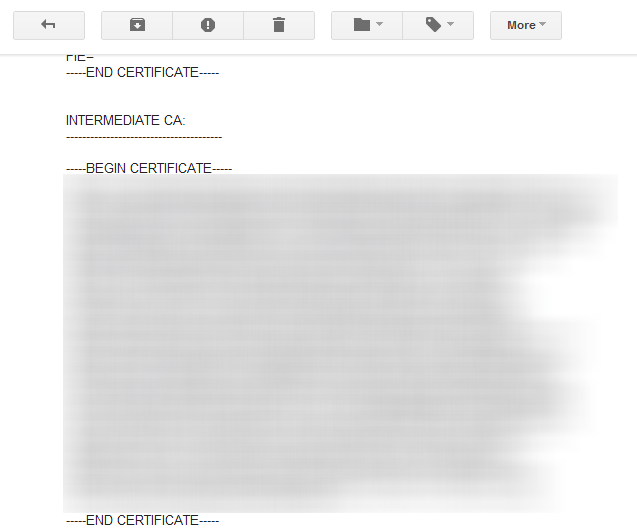
Be sure to copy everything including the header and footer.
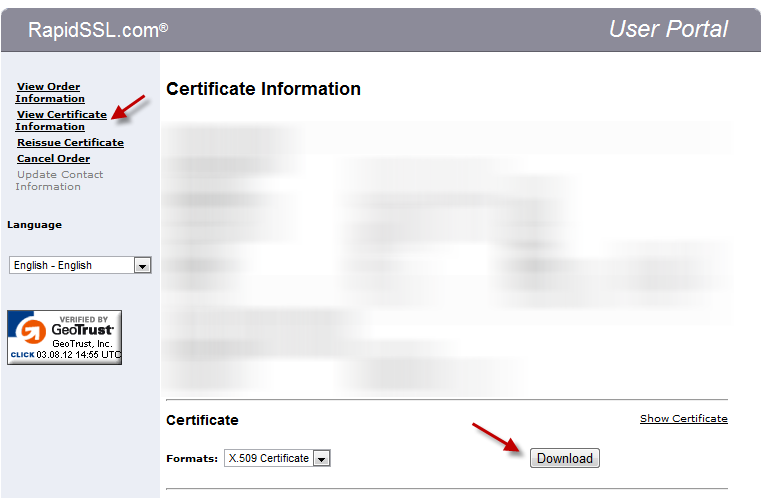
Now, for RapidSSL, you will let you download either the X.509 certificate or a PKCS#7 file. With IIS, you need to download the X.509 certificate. At the end of the order email, there's a link to the order portal where you enter your order info and you can then download your certificate. Download your X.509 certificate file, which will probably end in a .crt extension. Put it in the same place as your CSR to keep track of it.
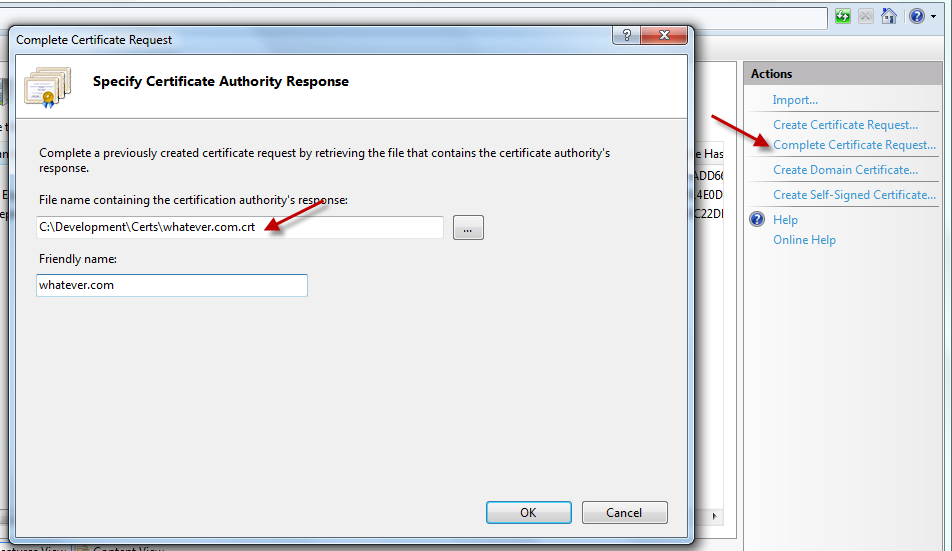
Back in IIS, on the same machine you generated the CSR with, you must "Complete a Certificate Signing Request...". You need to browse to the cer file (you may need to change the dialog to All Files).
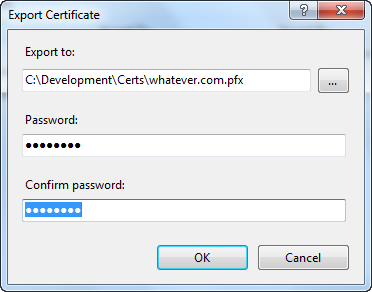
Once completed, IIS will list your certificate. You now need to select it and export it as a .pfx file. You need to enter a passphrase for the PFX file which you'll need for AppHarbor.

Finally! On AppHarbor, go to your certificates and add a new certificate. Specify you want to use a PFX file. Now enter the Common Name you've been keeping the same throughout the process (e.g. whatever.com) and enter the password you just used in IIS.
ALL DONE. That wasn't so bad, was it?